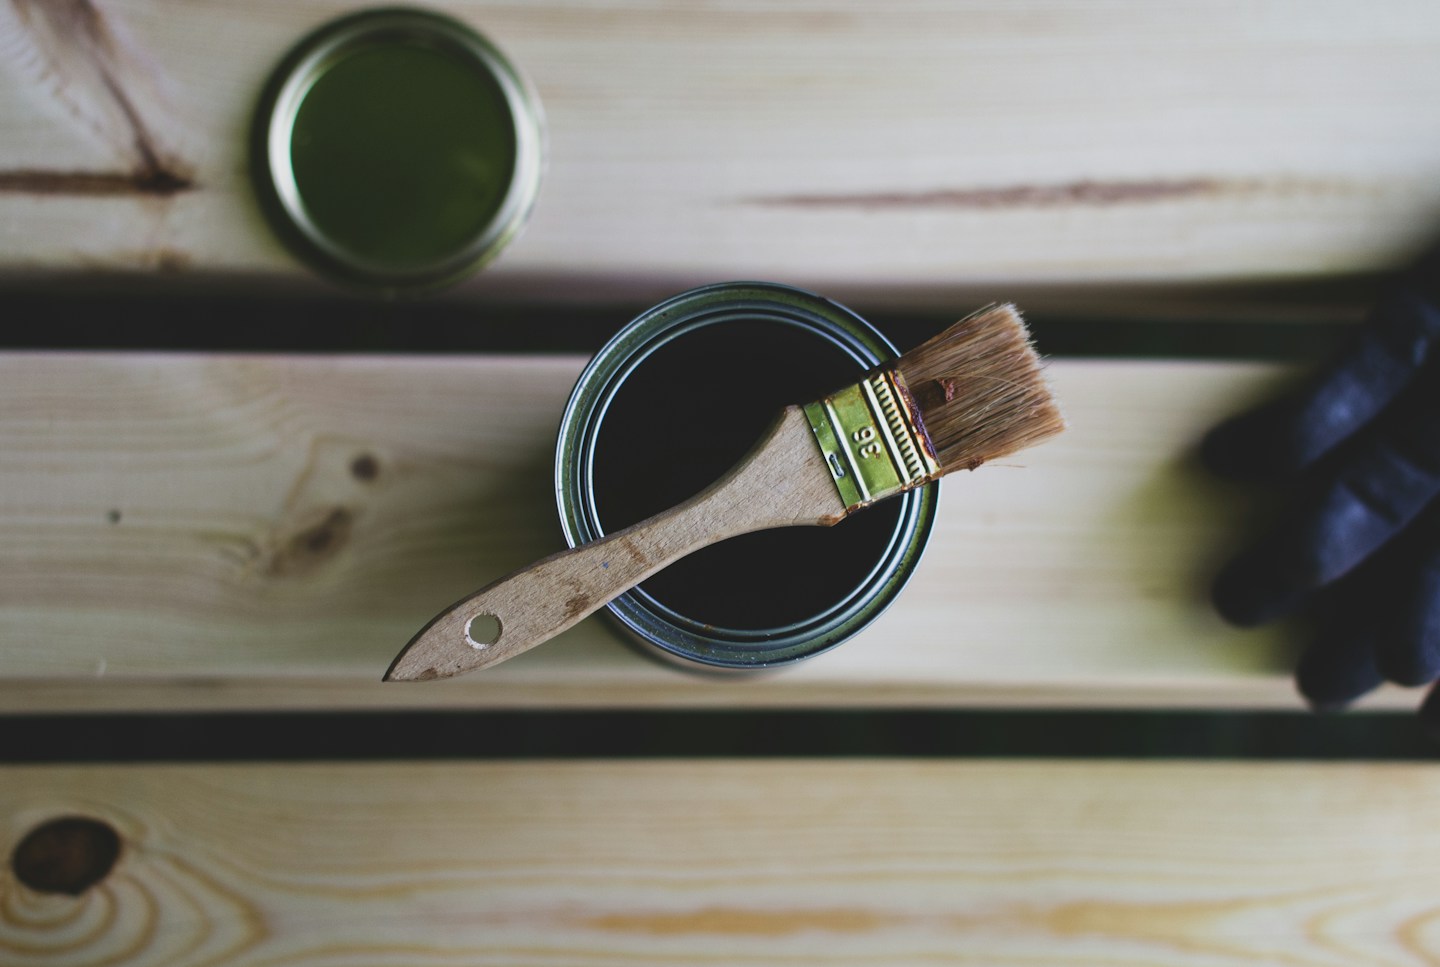
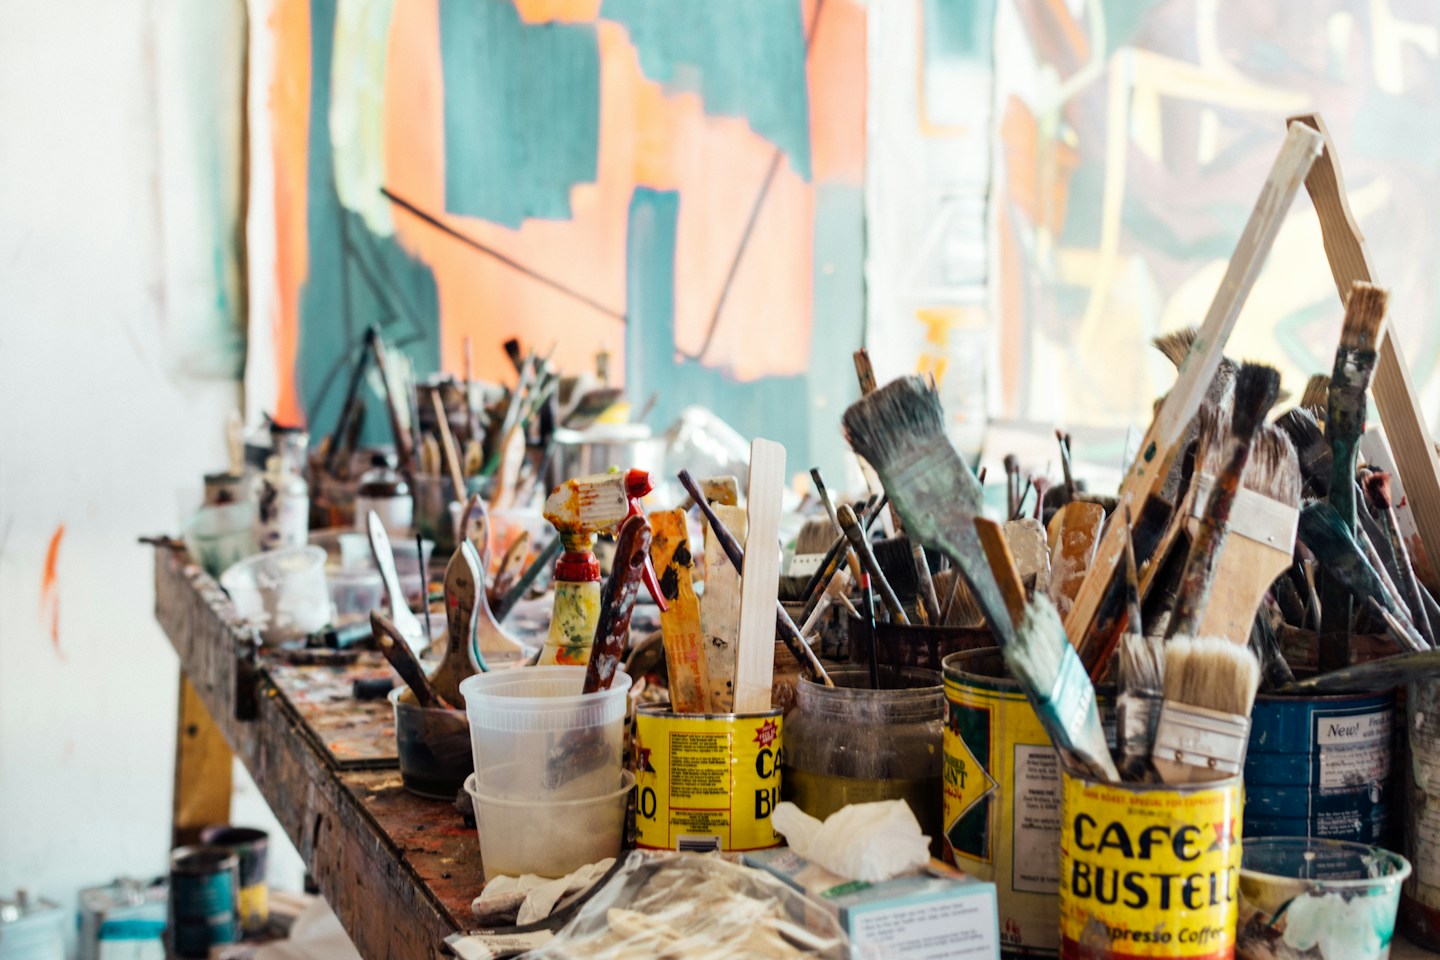
Creative work often begins with the promise of using only one corner of the table. A few minutes later, brushes, paper, paint, and half-finished pieces occupy the whole surface. In a small home, the solution is not necessarily a dedicated studio. It is a station with a defined working area, appropriate storage, and a clear ending. The supplies should be easy to reach when you want to make something and equally easy to put away before the table returns to meals or homework. Planning the pack-away routine is what makes a compact craft setup usable more than once.
Choose one type of project first
A station for watercolor needs different storage from one for sewing or model making. Start with the activity you do most often, then add other materials only when the basic arrangement works. List the tools and consumables used during a normal session. Separate essential items from supplies bought for an abandoned idea. You do not have to discard everything unused, but it need not occupy the most accessible space. A clear purpose keeps the station small and helps you choose suitable surface protection, lighting, and ventilation. It also prevents a general box of unrelated craft materials from becoming the entire system.
Pick a surface that can do the job
Use a stable table at a workable height with enough room for both hands and the project. Check whether the finish can tolerate the activity and protect it with a suitable mat or covering. A thin sheet may stop a splash while offering little protection from cutting, heat, or pressure. Follow tool and material instructions and use purpose-made protective equipment where required. Keep the work clear of food preparation areas while chemicals, adhesives, or messy materials are in use. Do not assume a product described as craft paint is suitable for contact with food or skin. Match the surface protection to the actual task.
Create a small daily kit
Put the tools used in almost every session into one portable container. For painting, that might mean a few brushes, a palette, pencils, and the colors currently in use. Store larger reserves separately. A compact kit reduces setup time and makes it obvious when something has been left behind. Choose a container that is easy to clean and stable when opened. Avoid deep boxes where small tools disappear beneath heavy bottles. If sharp items are included, use appropriate guards or compartments and secure storage. The daily kit should provide convenient access for its user while remaining safely inaccessible to children when necessary.
Keep wet and dry supplies distinct
Wet brushes, damp cloths, and freshly washed palettes need to dry properly before entering closed storage. Follow the care instructions for each material. Give them a temporary drying area that does not block the household's main route or contaminate food surfaces. Dry paper and finished work belong somewhere protected from splashes and spills. A single all-purpose box can trap moisture and damage supplies. Make the separation visible: one washable tray for the active wet task and one clean place for paper or fabric. Empty and clean the wet tray after use rather than allowing it to become a permanent collection of residue.
Store materials in their original containers
Keep product labels, warnings, and use instructions with paints, adhesives, and solvents. Do not transfer them into food jars or drink bottles that could be mistaken for something else. Follow storage requirements for temperature, ventilation, ignition sources, and secure access. Some products are unsuitable for a shared domestic work area, particularly around children or pets. Choose materials appropriate to the space and seek safer alternatives where needed rather than relying on an open window to solve every issue. Keep incompatible products apart according to their labels. Storage that looks uniform is not an improvement if important safety information has been lost.
Give unfinished work its own place
Projects need somewhere to wait without being balanced on a chair or hidden under household papers. A shallow tray, shelf, or clearly labeled flat folder may suit the work, provided the material can be stored that way. Fresh paint or adhesive may require open drying conditions and specific precautions. Keep unfinished pieces away from food, pets, and curious hands. Limit the active-project area to a realistic amount. If every shelf holds an unfinished idea, decide which one to complete before starting another. A defined waiting place protects the work and prevents the station from spreading through the house whenever the table is needed.
Make lighting part of the setup
Use enough light to see the task comfortably without placing a hot or unstable lamp among materials. Follow the lamp's instructions, keep cables clear, and avoid glare reflected from glossy paper or tools. Natural light is helpful, but a station should still work during the hours you actually have available. Test your normal seated position and notice shadows cast by your hands. If the light needs to move, use a stable product designed for adjustment. Do not attach a heavy lamp to furniture that cannot support it. A small practical lighting change may improve the experience more than buying additional art supplies.
Use a clean boundary for shared tables
When a dining table serves as the craft area, establish a visible working boundary with an appropriate mat or tray. Keep supplies inside it where practical and store food elsewhere during the session. Afterward, remove the materials and clean the table using a method suitable for both the surface and the substances used. Do not leave chemical residue where meals will be served. If the activity cannot be contained or cleaned safely in that location, choose another workspace. A shared table requires a reliable transition, not merely pushing the project to one end and assuming the unused half remains unaffected.
Build a five-step pack-away routine
A repeatable ending might be: secure products, clean tools as directed, place work in its drying or waiting area, wipe the protected surface, and return the dry kit to storage. Adapt the order to the materials and their safety requirements. Handle waste according to product instructions and local rules; do not assume paint or solvent can go down the sink. Allow tools to dry before closing the box. A short written checklist can help children with age-appropriate supervised projects, while adults may simply keep the sequence consistent. Ending well makes the next session easier because the station begins ready to use.
Keep stock visible without displaying everything
A simple inventory prevents buying another set of brushes because the first set is buried. Group reserves by activity and label containers clearly. Check supplies periodically for damage, dried contents, or products requiring special disposal. Avoid storing heavy materials above head height or piling boxes where they can fall. Keep an accessible place for instructions and receipts for equipment that needs maintenance. The station does not need a wall of identical containers. It needs enough visibility that you know what you own and enough restraint that active materials fit the available space. Organization should support making things rather than becoming the main hobby.
Judge the station by the next session
The best test comes when you want to begin again. Can you find the kit, clear the surface, and start without sorting yesterday's leftovers? Can you put it away before the room needs another use? If setup remains slow, reduce the daily kit or move reserves farther from the working area. If cleanup is avoided, simplify the materials or choose shorter projects. A compact craft station succeeds when creativity fits naturally into an ordinary home. It gives your work a proper place while leaving the table, room, and household ready for everything else they need to do.
Have a correction or a question? Write to the Amenkingdj team.