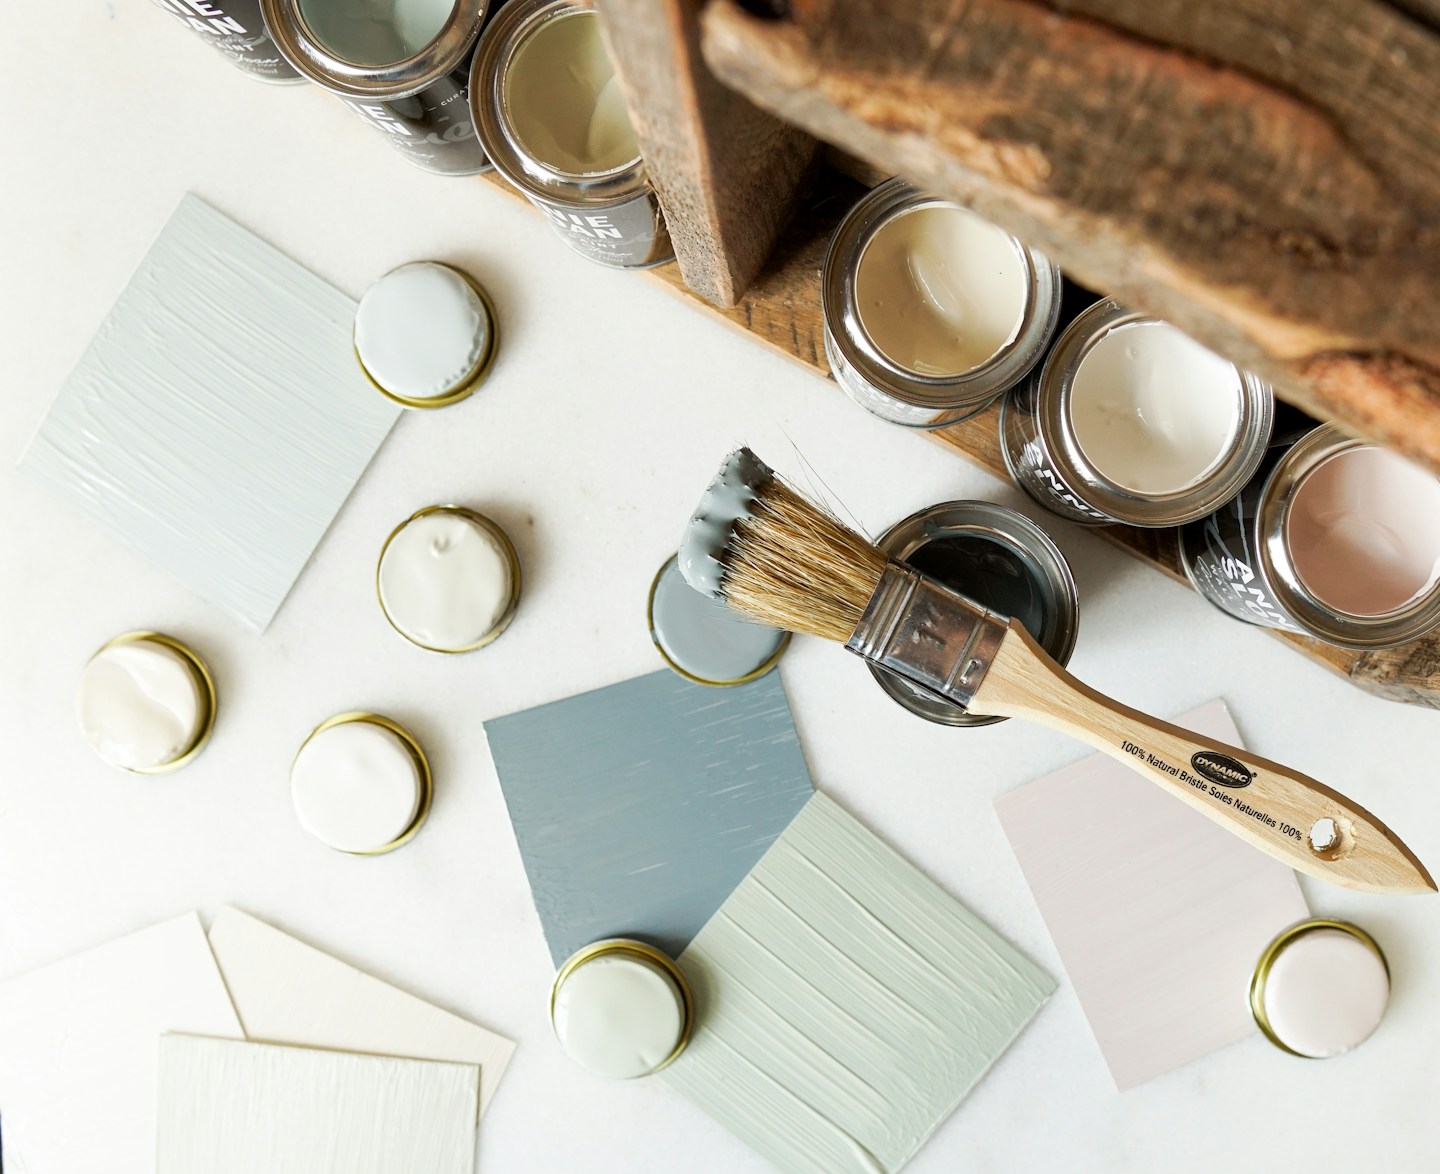
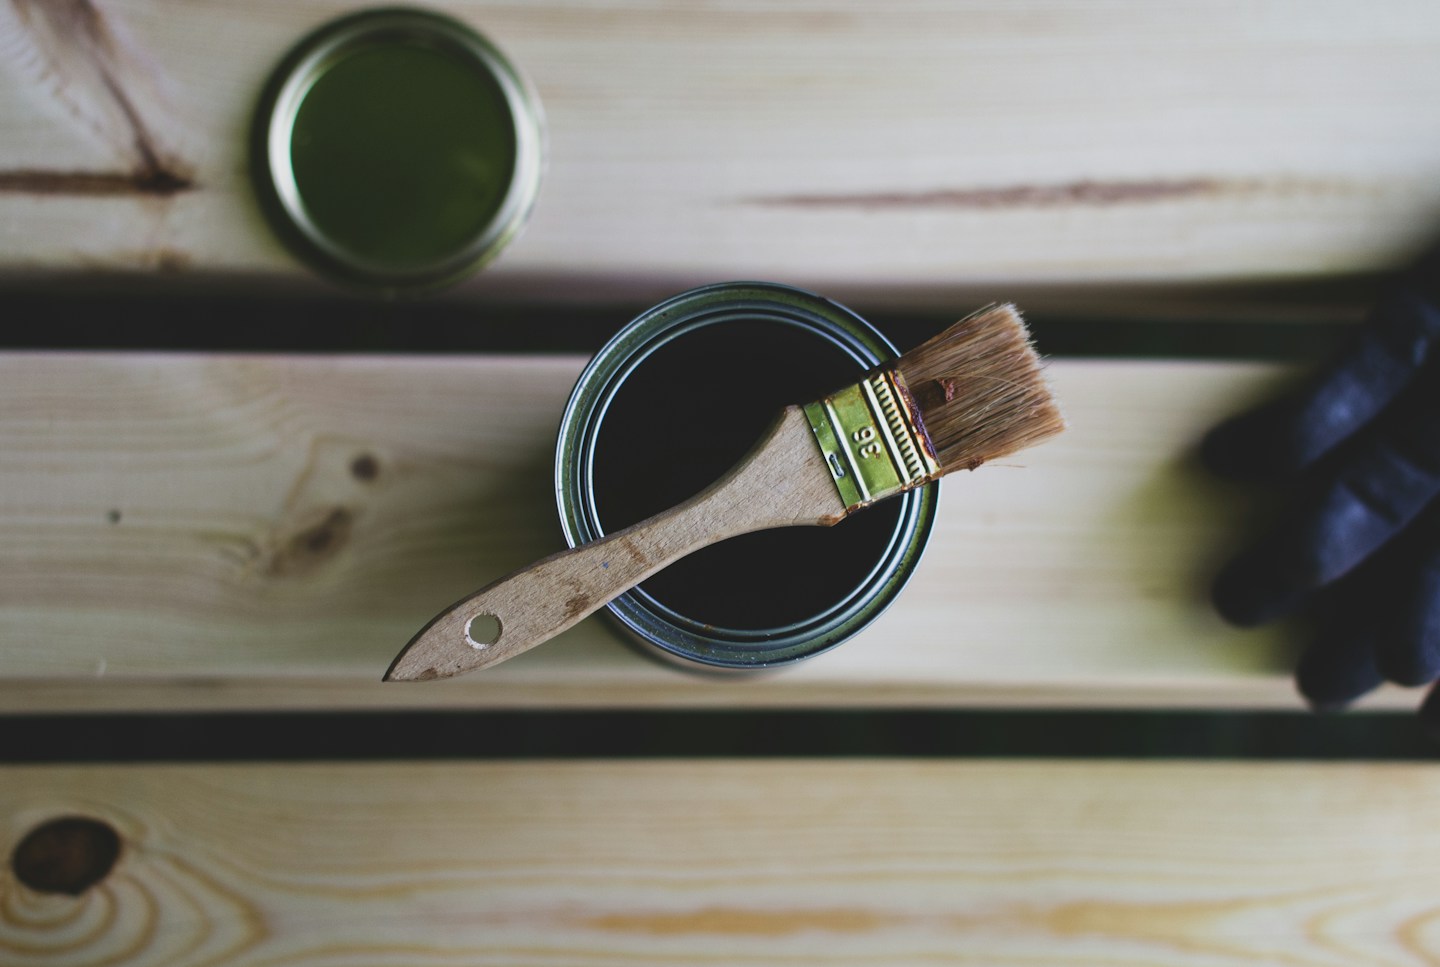
A small wooden piece can be a satisfying painting project because the work is contained. A decorative tray, a plain box, or a simple side table gives you a chance to learn how a finish behaves without taking an entire room out of use. The important first step is choosing the right object. Valuable antiques, children's furniture, food-contact surfaces, heavily damaged pieces, and items with an unknown old coating need more specialist consideration. For a first project, select a sound, inexpensive decorative piece with a finish and construction you can identify, then make a plan before opening the paint.
Choose a project you can finish
Inspect the object in good light. Check that joints are sound, the surface is dry, and there is no active damage that paint would merely conceal. Painting will not repair a loose leg or make swollen board sound again. Avoid changing the finish on a valuable or historically significant piece without specialist advice. Choose something small enough to carry safely and leave undisturbed while coatings dry. A project that occupies the only dining table for days may become a household nuisance. Set the scope clearly: improving a modest decorative object is different from restoring furniture or making an item suitable for heavy daily use.
Identify the existing surface
A clear lacquer, waxed finish, laminate, and bare wood may require very different preparation. Read the guidance for the proposed coating system and ask the manufacturer or a knowledgeable supplier if uncertain. Do not assume a paint labeled for furniture will adhere to every surface. Be especially cautious with old or unknown paint, which may contain hazardous materials. Do not sand, scrape, or heat an unidentified coating casually. Seek appropriate testing and professional guidance where needed. It is better to choose another beginner project than to turn a decorative refresh into an uncontrolled dust or chemical exposure problem.
Make a modest materials list
Once the surface is understood, list the products required by one compatible system: cleaning materials, any recommended preparation products, primer if specified, and the finish itself. Include an appropriate brush or roller, suitable protective equipment, surface protection, and safe cleanup supplies. Buy enough to complete the project without mixing unrelated products from leftovers. Read safety labels before use, including ventilation, temperature, ignition, storage, and disposal requirements. Low odor does not mean a product can be used without following precautions. Keep children and pets out of the work area, and protect nearby belongings from splashes and dust.
Clean before preparing
Remove detachable hardware only if it can be taken off safely and reinstalled correctly. Keep each piece and its fixings in a labeled container. Clean the object using a method compatible with the material and the coating manufacturer's instructions, then allow it to dry as directed. Grease and polish residue can interfere with adhesion, but a harsh cleaner can create new problems. Do not flood joints or porous board with water. If a surface remains sticky, oily, or damaged after appropriate cleaning, pause and investigate rather than painting over it. Preparation is useful only when it addresses the actual condition of the object.
Test the complete system discreetly
Choose an inconspicuous area that represents the main surface. Apply the preparation and coating sequence exactly as instructed, including any specified primer and drying intervals. A quick dab of topcoat alone does not test the full system. Check the result after the recommended period for adhesion, appearance, and compatibility. Do not invent a scratch test that damages a valuable object or ignore the manufacturer's testing guidance. If the finish wrinkles, remains tacky, or lifts, stop and seek advice. A successful sample is encouraging, but the entire object still needs consistent preparation and application to achieve a comparable result.
Work in a sensible order
Plan how the object will be supported so freshly coated areas do not touch the work surface. Start with parts that would be awkward to reach after the visible faces are finished, following the product's application guidance. Keep coats to the recommended thickness instead of trying to hide the old surface in one heavy pass. Watch edges and corners, where excess material tends to gather. Use good general light so you can see missed areas without leaning into wet paint. Work steadily within the product's open time. Repeatedly brushing a coating that has begun to set can make the surface less even.
Respect drying and curing
Dry to the touch, ready for another coat, and ready for normal use are different stages. Follow the actual product instructions rather than an arbitrary overnight rule. Temperature, humidity, coat thickness, and ventilation can affect the process. Keep the piece in a suitable protected location while it dries, away from dust, pets, and accidental contact. Do not place heavy objects, hot cups, or decorative mats on a newly painted surface before the finish is ready. A coating that feels dry can still mark or stick. Patience here protects the work already completed and is often more useful than another rushed coat.
Decide whether a protective finish belongs
Some paint systems require or permit a compatible protective coat; others do not. Check the manufacturer's guidance for the intended use and the exact products involved. Do not assume any clear varnish can be applied over any paint. A protective finish may change the color, sheen, or feel, so include it in the sample if using one. Decorative painting does not automatically make a surface food-safe, heat-resistant, or suitable for outdoor use. Keep the finished object within its intended role. If you need a specific performance, choose a tested system and obtain appropriate advice rather than relying on a generic craft instruction.
Reassemble and clean up carefully
Allow the finish to reach the appropriate stage before replacing hardware, and avoid overtightening fixings into a fresh coating. Follow product instructions for cleaning brushes and handling waste. Some finishing materials and contaminated rags can present particular fire or disposal hazards; read the labels and local guidance rather than leaving a pile of used materials in a corner. Keep leftover products in their original labeled containers, securely stored under suitable conditions. Record the product names and colors for future touchups. A tidy work area is part of completing the project, not an optional task to postpone after the interesting work is finished.
Judge the result in its real setting
Put the piece where it will be used and look at it in ordinary light. A slight brush texture may feel appropriate on a simple box even if it would not suit a glossy cabinet. Notice whether the color works beside nearby materials and whether the project improved a useful object. Take notes on what was difficult, such as coating narrow edges or keeping dust away, so the next project has a clearer plan. The reward is not only a refreshed piece. It is learning how to choose a manageable object, test a finish, and complete the work safely without guessing at every stage.
Know when to stop
If preparation reveals a damaged joint, an unknown layer, or a coating that reacts badly, pause before adding more products. Photograph the issue and ask the coating supplier or an appropriate furniture professional for advice. Changing three products at once makes the cause harder to identify. A small project remains worthwhile even if the useful lesson is that a different object would be a better beginner choice.
Choose a storage spot for the object before starting the first coat, and check that it can remain there for the entire recommended drying period. A safe location should allow the required ventilation and protect the work from accidental handling. If the only available place must be cleared for dinner, postpone the project or select a smaller piece rather than planning to move wet paint through the house.
Have a correction or a question? Write to the Amenkingdj team.